Dear Crafty Friends,
Cute paper collections ALWAYS make me want to make cards so when we got Bo Bunny's Weekend Adventure papers for August's Kit from Aunty Vera, I knew I was making cards.
I used the cut apart from the 12" x 12" Bear Hug Patterned Paper as my inspiration.

I realised as I was making them that I usually have 10 steps (more or less) for making more elaborate cards so I will share my process with you all.
First, the card base.
I use a box set of pre-cut cards (which I buy from Lincraft/Spotlight/Riot depending on the sales they are having).

These cards are usually pre-patterned, but if you turn them inside out, you have a blank white card base to work on and inside, you can use a PL journaling card to write your sentiment.

For todays cards, I mixed them up depending on how the layering looked.
Step 1:
Cut a mat card stock that leaves a thin border of your card base showing.
Card base: 4 1/4" x 5 1/2"
Mat size: 4 1/8" x 5 3/8"
I chose to use grey as the colors in this paper pack were very light and pastel and I need some dark colors to differentiate the layers.

Step 2:
Layer a piece of patterned paper on top of your mat.
Pattern paper #1: 3 6/8" x 5 "

Step 3:
Layer a second piece of patterned paper on top of your previous layer.
Pattern paper #2: 3 4/8" x 4 5/8 "

Step 4:
Add thick ribbon in an area that pleases you.
Here I used wire edge woven ribbon (hessian is also a good choice).
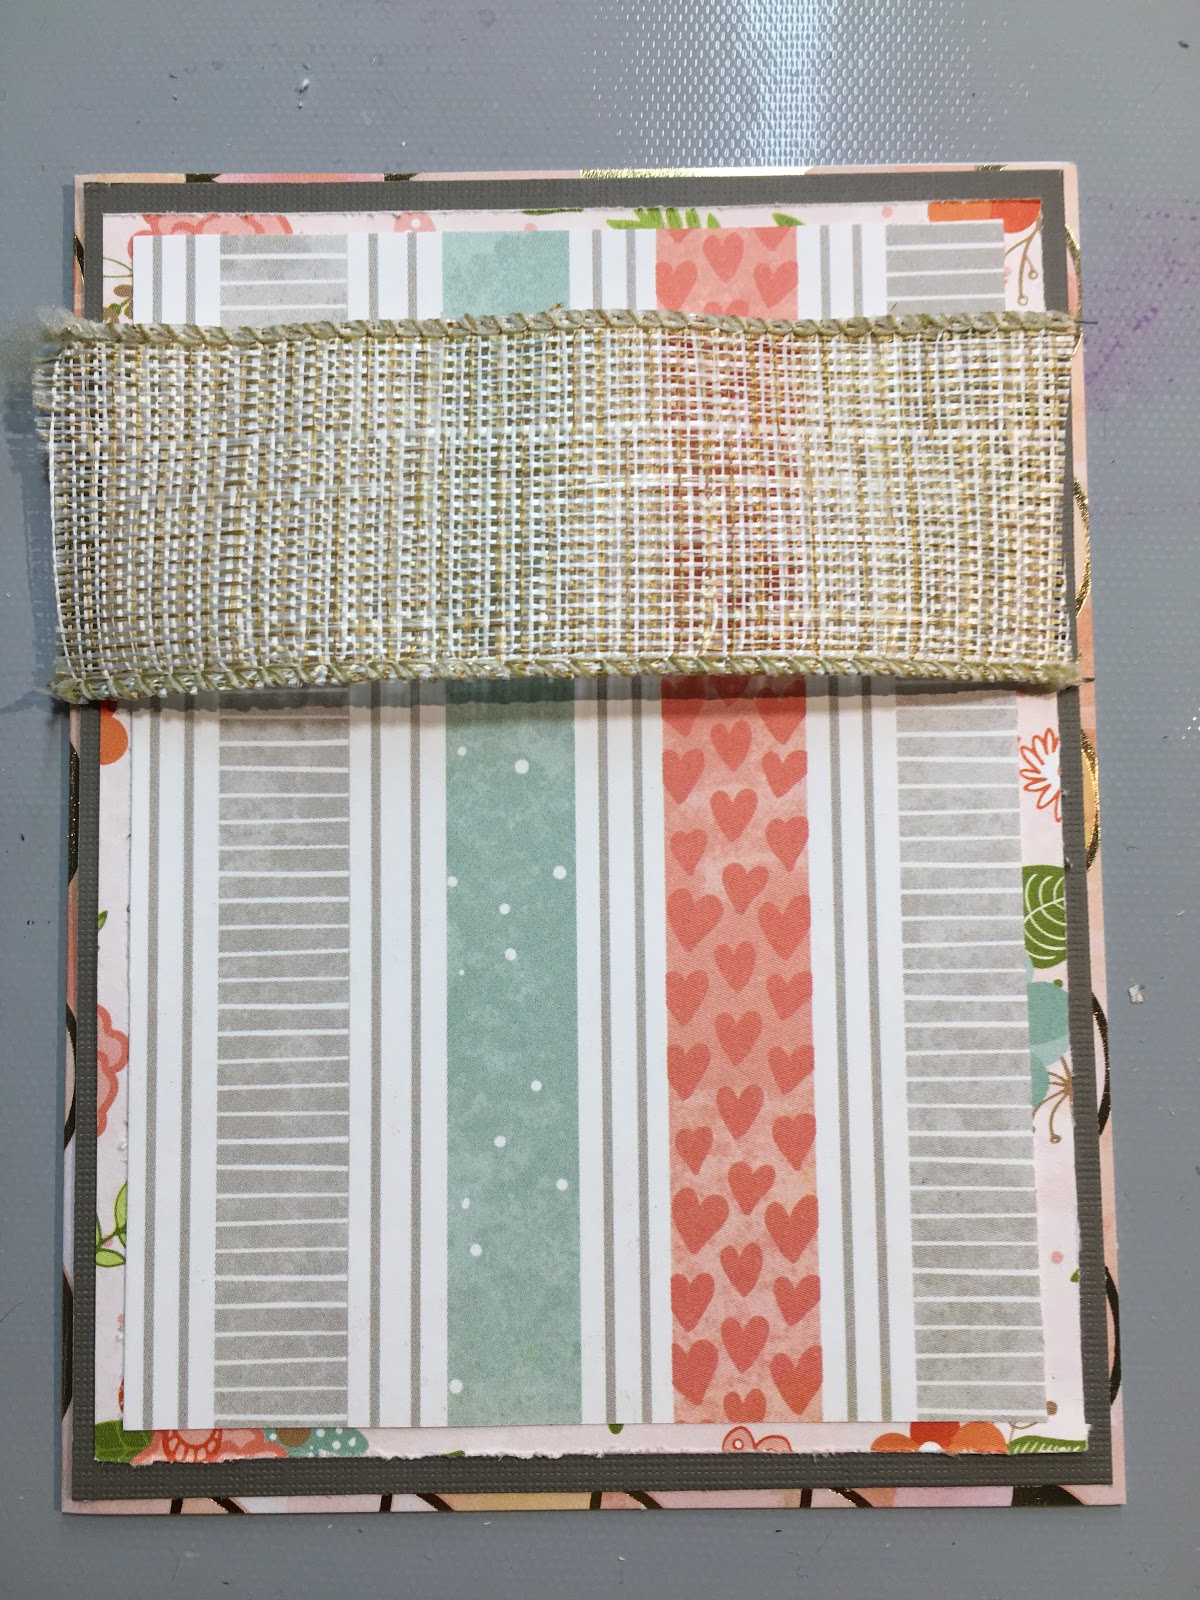
Step 5:
Add a doily :)

Step 6:
Add your cut apart or main element/character- in my case it's the cut apart bear.
He is my absolute favourite character :)
 |
| Before inking/tearing edges |
I did tear and ink the edges (Distress Ink Vintage Photo). This is a personal choice. You do not have to do this. I find that it looks less clean cut and more incorporated not he card this way.
You be the judge with the before and after photos.

 |
| After inking/tearing edges |
Step 7-
Layer a think piece of ribbon on top of both the doily AND the thick ribbon.
 |
| Before inking the edges of the flower |
Step 8:
Add a (Prima) flower.
Once again, I decided to ink the edges of the flower.
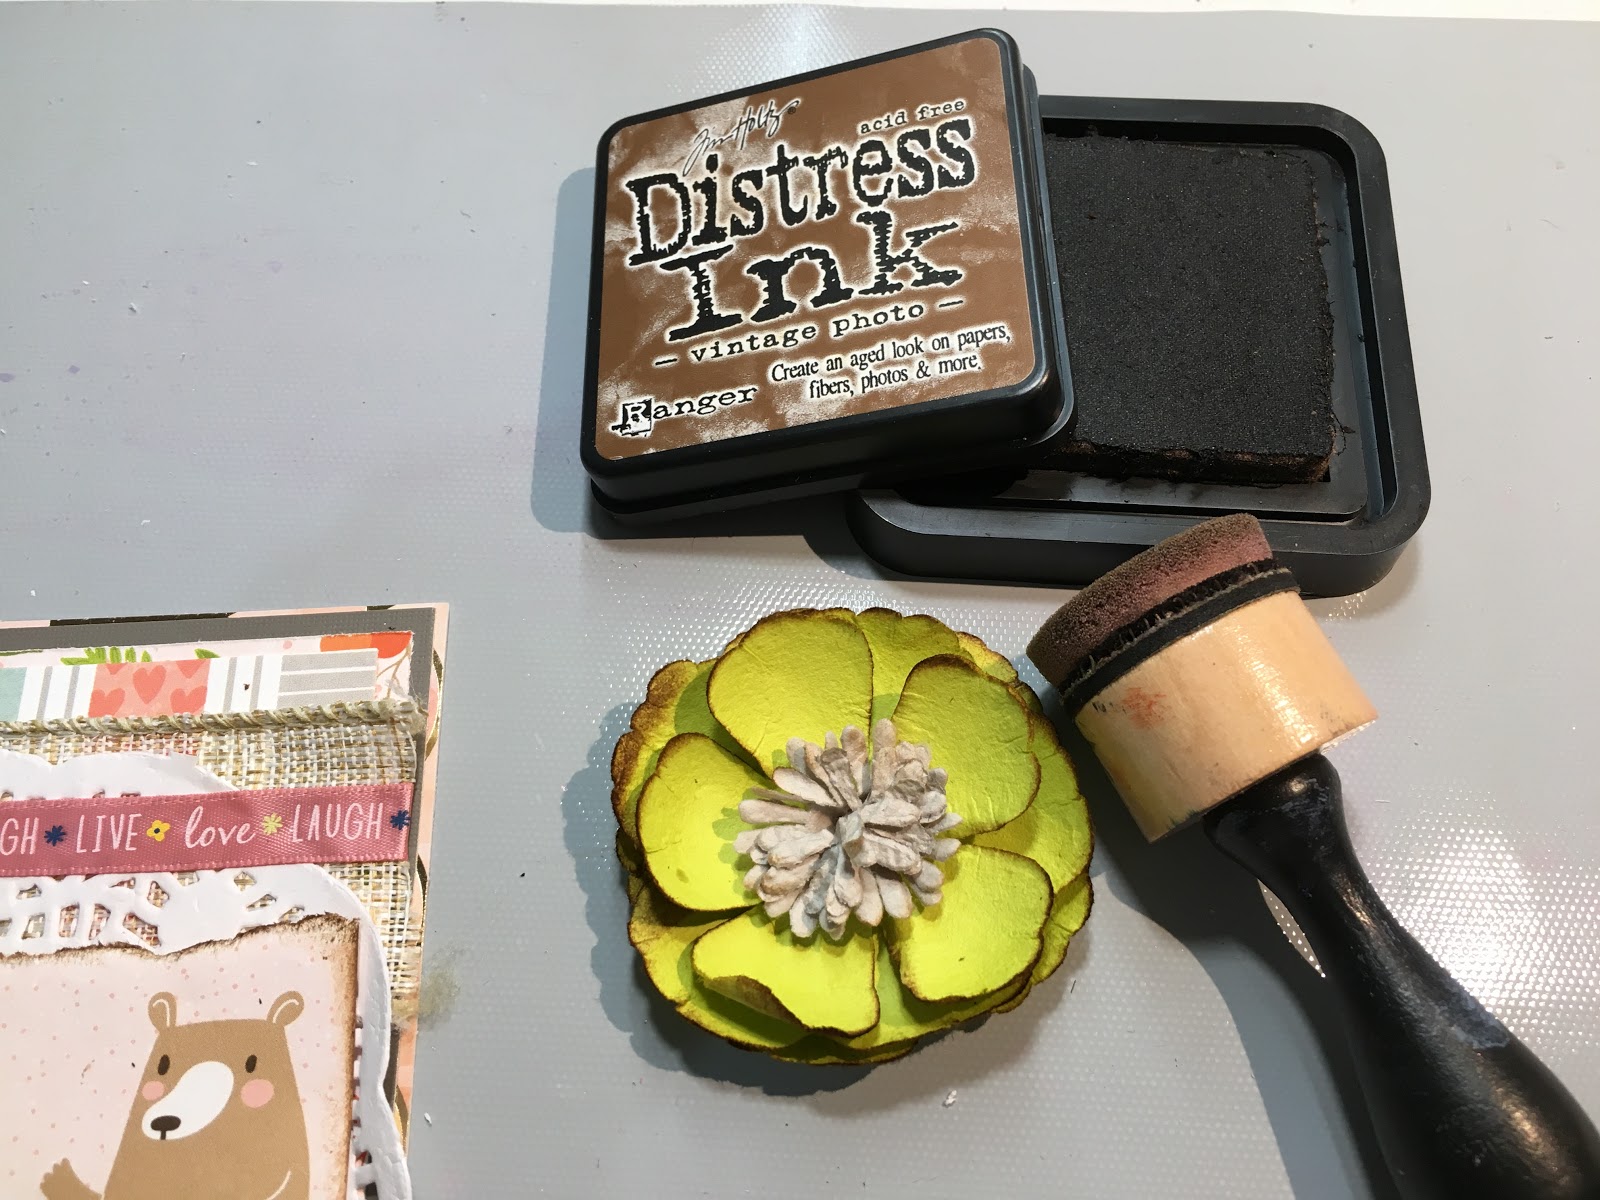
 |
| After inking edges of flower |
Step 9:
Add charms and embellishments.
I absolutely ADORE this Pocket Full of Posies Pack in the August Kit.
Definitely an asset in any crafter's room!

I played around with placement.

And decided to use this charm.

I pulled out my 1" round punch and punched out the little fox from the 12 " x 12" Let's Play patterned paper sheet. I did have to trim a little to ensure he fit into the charm.
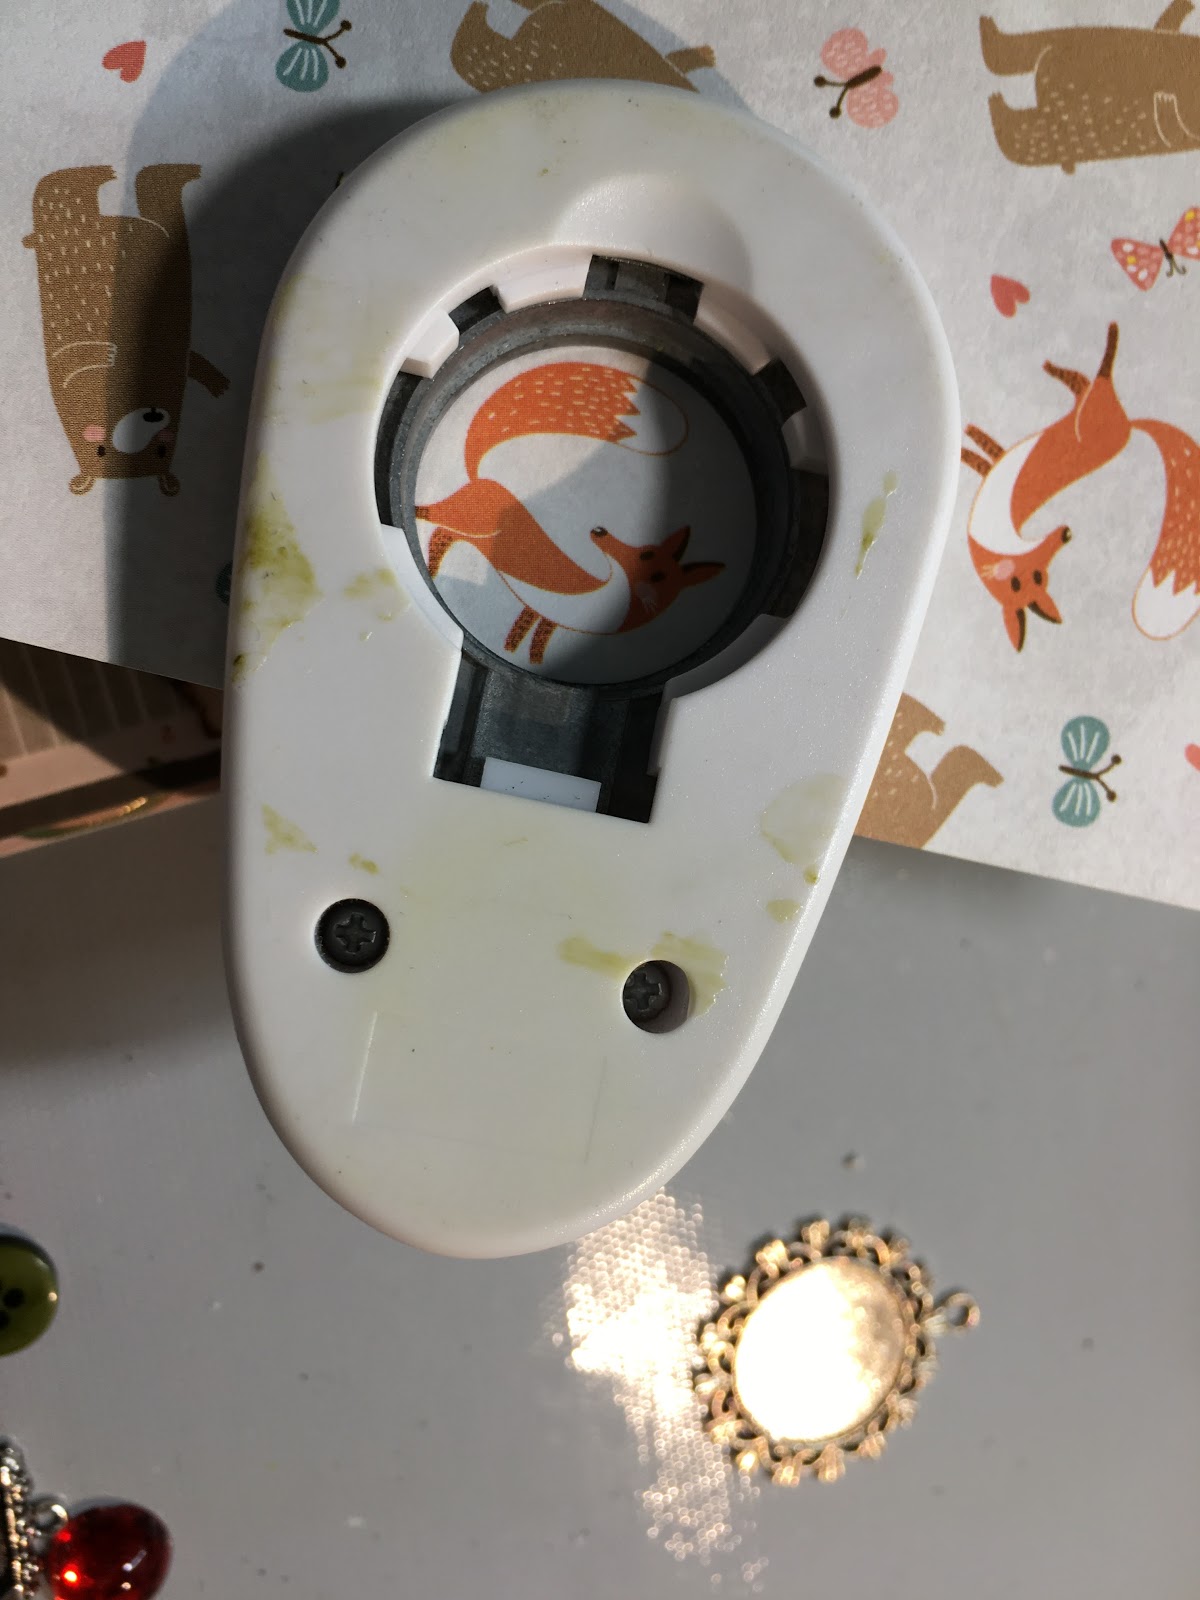
I applied Mod Podge to the charm to adhere him down, then I added it again to seal.

I then added some gold thread to the charm.


Step 10:
Add your sentiment.
The 12" x 12" Good Vibes sheet is PACKED with sentiments.
I chose "Life is sweet"

I also decided to distress and ink the edges of the sentiment.
And there you have it!
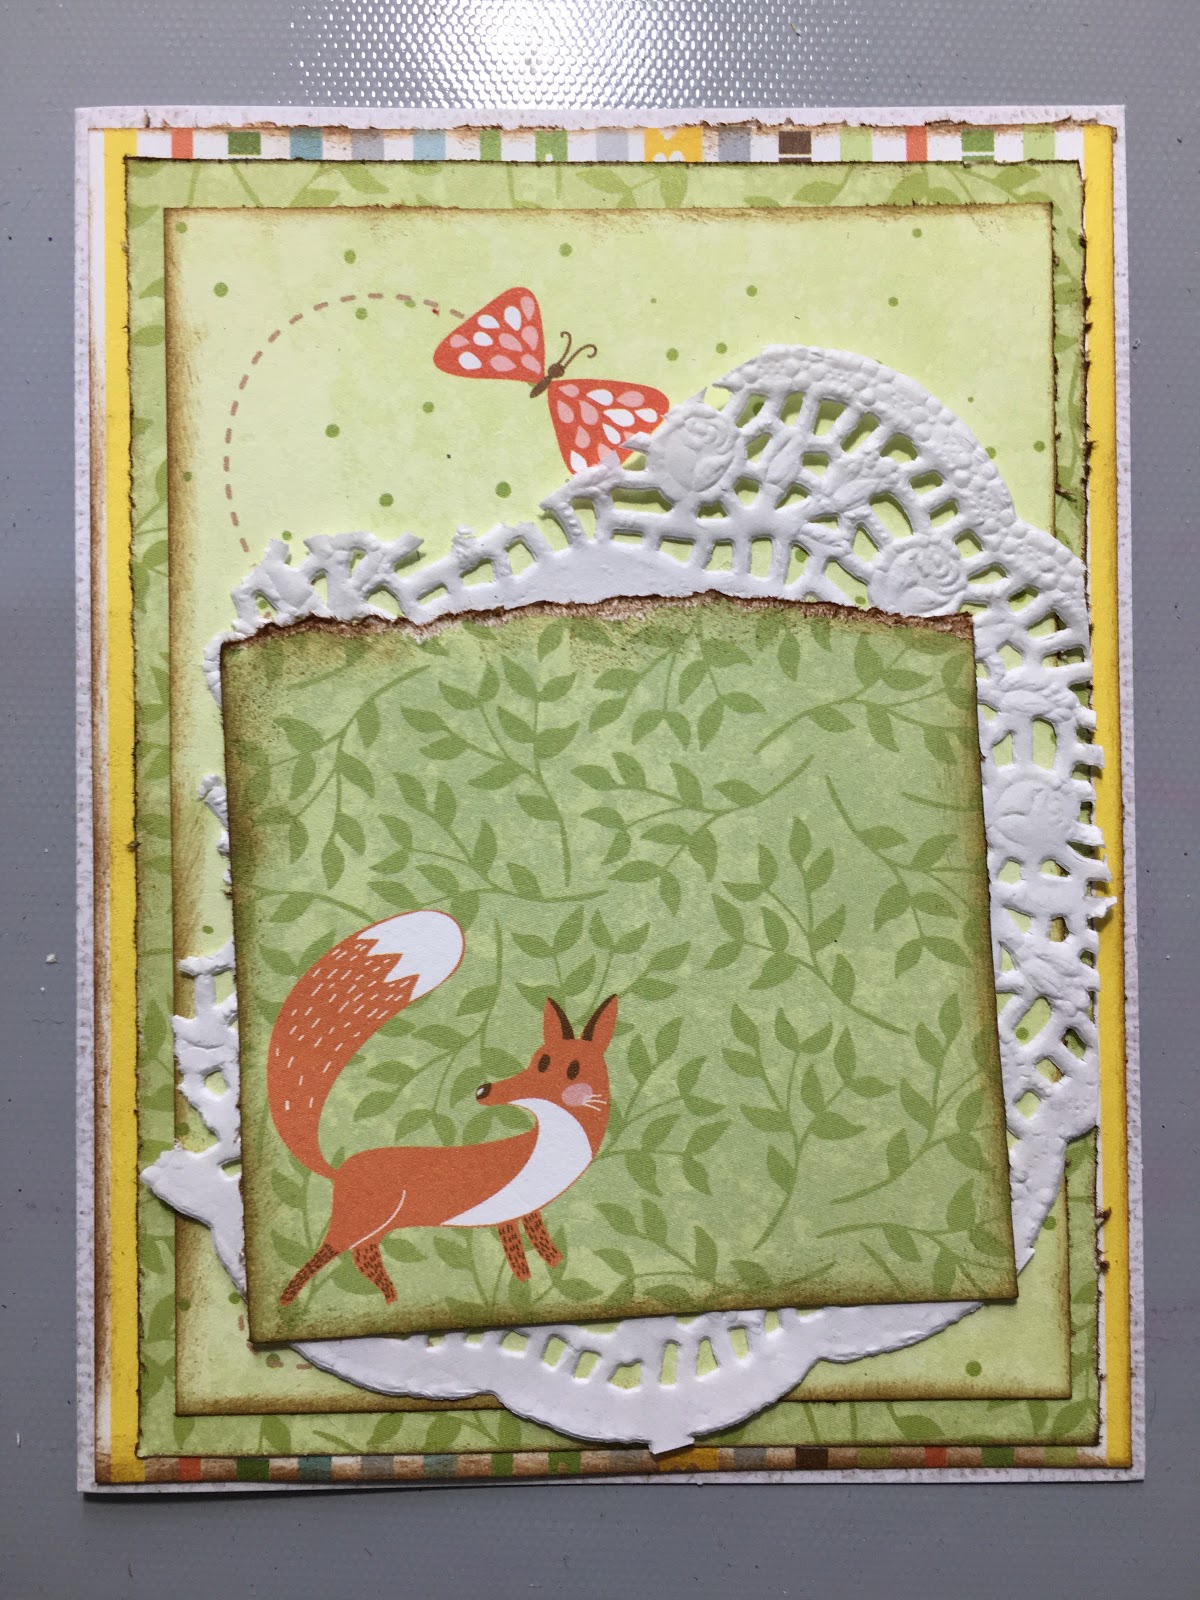
CARD 1- LIFE IS SWEET


CARD 2- PLAY MORE, WORRY LESS
This is what the card looked like with all the papers layered together.
Here i added both ribbons and the Birch tree which is an Impression Obsession die I have and love using to make forest scenes.

Playing with flowers placements and embellishments.


I added 2 lots sentiments.
They just seemed to work well together.

And finally just some enamel dots to fill in the emptiness just above the fox.


CARD 3- THE BEACH IS CALLING
This is what the card looked like before all the embellishing.

I used brown card stock as my mat and and vellum as my second "pattern paper" (with a ripped edge to simulate waves- I know- let me have it, please LOL)
Here is what the hessian and ribbon cluster at the top looks like.

And I added the hessian and a wood element on the bottom right as I felt it was a bit empty.
Also totally adore the beach huts I had from an embellishment pack by Kaisercraft called Daydreamer.

This beach towel was the perfect size to pop into this charm.
I cut it to size and used Mod Podge to adhere and seal it.

And I added some black thread to make it look like it was a surfer's neoprene
necklace LOL.


CARD 4- GOOD VIBES
Riding around the neighbourhood is one of my favourite summer activities on the weekend so this card is near and dear to my heart. I love the feel of the doily with the pink/ yellow/ brown colors.

Here is the top cluster of ribbons and double sentiment.

And I just had to add this bicycle embellishment from the Daydream pack (my own stash).

And I made another cluster of flowers and charms and seed beads in the lower left corner.

And here is the overall card.

CARD 5- GOOD TIMES
This card reminds me of going to the Royal Show every year in September where we buy show bags, eat naughty foods (candy floss and candied apple) and send way too much on rides.
I varied the angles of the layered papers just for fun.

And added plastic tiles to spell out "Enjoy" even though the cut apart had a sentiment already on it. I think they go well together.

I love having the wire ribbon running up and down in this card and I adore these ticket stubs which were once again from the Daydreamer embellishment pack
I created another charm with the bear this time and added some ribboned silk flowers.
I love these. They look like trophy ribbons the animals wear when they win best in show (another
favourite thing to do at the show).


CARD 6- ICE-CREAM TRUCK
Last but not least is the ice-cream card.
Do you have an ice-cream truck that drives around your neighbourhood playing "Greensleeves" both in summer and winter? We do!
The amount of times we've talked about putting that guy out of business and the less than gentle means my husband has for that poor man are a bit too harsh to mention here.
But needless to say, an ice-cream, at the right time place, is a wonderful thing.

I used vellum once again as a layer.
I also used both lace and the doily and I think they compliment each other very well.

This little puffy cloud sentiment might seem a little out of place but I feel like it reminds me of assort serve and the sentiment describes exactly how I feel. As a child you think you are going to grow up and eat ice-cream everyday with no thought for waist, weight and dental hygiene. LOL.

I love the addition of the enamel puffy heart stickers here because everyone I know LOVES ice-cream. I also love the rhinestone gems and the enamel dots. They look like "hundreds and thousands" aka sprinkles.

Say it with me:
ICE-CREAM, ICE-CREAM, WE ALL SCREAM FOR ICE-CREAM :)

I feel like I need to go and have some ice-cream now.
Mmmmm Vanilla bean...
What's your favourite flavour?
Let me know in the comments below :)
I did film while I was making these cards. You can find it on my YT channel here :)
Happy crafting,
AmiraInOz
Comments
Post a Comment