Hello everyone,
Welcome spring and welcome everyone!
I've been waiting to get to this pile of envelopes sitting on my craft table - I just don't know how I end up with so many envelopes!
I think it's because I just add cards into presents that I gift wrap and I always forget the envelope.
Anyway! I designed this simple and interactive envelope album and decorated it with the Echo Park Hello Spring collection papers from the September Kit.

I also decided to make it a little gorgeous by adding a little Gorjuss to make it a Hello Gorjuss Spring Album (I know- a bit corny).
You will need 4 envelopes for the base of this album.
Make sure they are all the same size.
Start with the first envelope and add adhesive (in my case, PVA glue) as shown:

Then attach the flap of the second envelope to the flap of the first envelope.
Make sure you keep the crease of the flap in a straight line with the edge of the envelope.

Next, join the flap of the third envelope with the flap of the first envelope

Repeat with the forth envelope.
Until you get this basic structure where the middle is composed of all the flaps joined up.

Next, you will need:
2 pieces of patterned paper that measure 6 2/8" X 6 2/8 " to decorate that middle part on the inside and the outside.
 |
| This is the inside of the album |
This is the outside of the envelope.

Next, you will need 4 x pieces of patterned paper that measure : 6 1/8" x 2 1/4 ".
These pieces will fit inside each of the envelopes.


For the 2 horizontal envelopes, I chose to use horizontal 4" x 6" journaling cards - but first I matted them with patterned paper that measure 4 1/4" X 6 1/ 4"
I also inked and distressed around the edges of the journaling card to make them stand out more.

For the 2 side envelopes, I chose to use the 3" X 4" journaling cards, and once again I matted first with patterned paper that measured 4 1/4" X 6 1/ 4"

I decorated the 2 horizontal envelopes once again with 4" X 6" journaling cards.

Now for the two side envelopes on the inside of the album, I did decide to trim off the triangle to make it easier to matt like so....

So that all you had to do to decorate was add patterned paper that measured 2 1/4" X 6 1/4".

For the centre of my album, I reached for this pretty stamp by Santoro Gorjuss called Bluebird's Proposal.

I coloured her in with Prima Water colors.

And fussy cut her out ..

And this is how I placed her in the centre

Lastly, it was time to make journaling cards to go into each envelope.
Decorating these was really easy since I had the sticker element sheet.
I also used some Gorjuss Stickers to add more Gorjuss characters to the album.


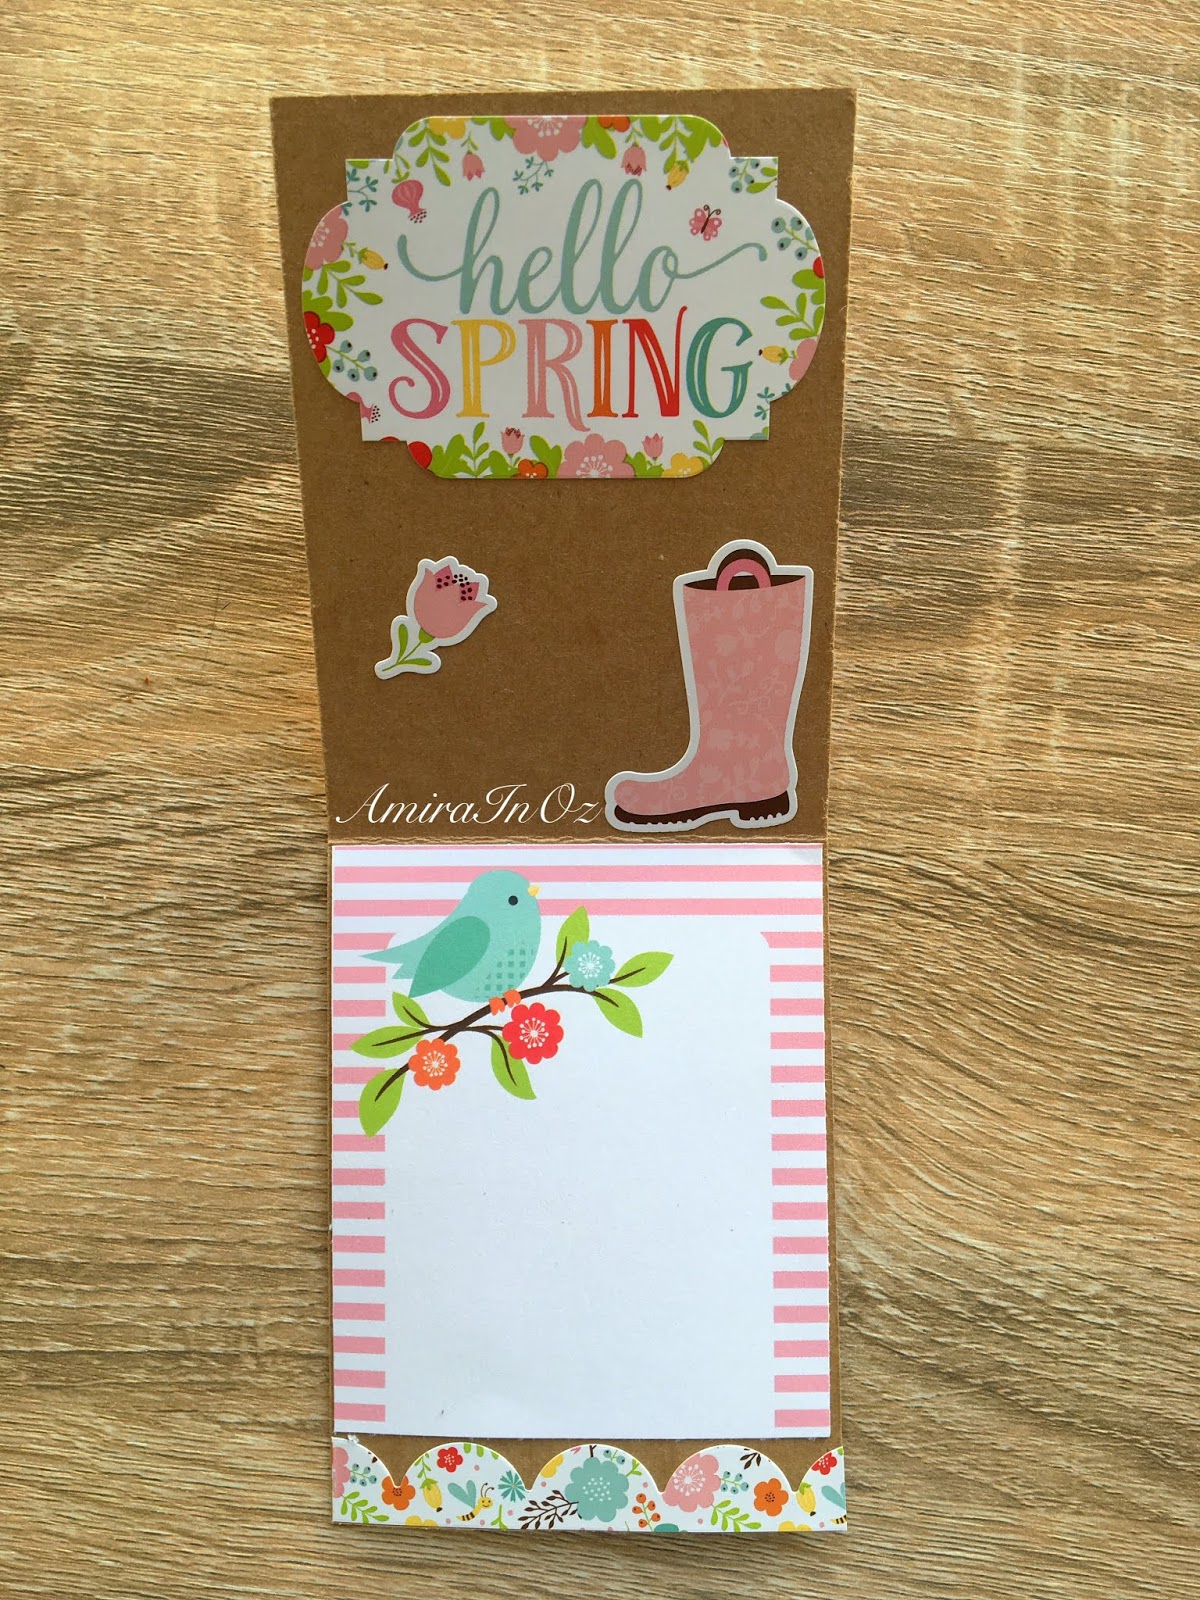
This is how the album looks when the notecards are placed into the envelopes.


As a closure, I added the butterfly ribbon by American Crafts to the front envelope using double sided tape.
This is what the album looks like all tied up.

You can find the process tutorial for Part 1 HERE
and Part 2 HERE
Thank you so much for joining me- I hope you enjoy it.
xxAmira
Comments
Post a Comment