Dear Crafters,
Today I am using both the Jolee's Boutique Sticker pack and the Ken Oliver Burst to create scenery cards.

Card 1: Climb more trees
For my first card, I sponged on Distress Oxide (Peeled Paint) to the bottom half of my card.

I then added the color burst to the top section of the card and applied faded jeans distress oxide over it to fill in the empty white areas.

Next came the placement of the bears.

For extra dimensional grass, I used this die cut from the Bear Die in the Kit (watch this blog for my next post) and applied Nuvo Crystal Drops to give the grass a glossy dimensional feel.

For the sentiment, I used a cut apart strip from the Weekend Adventures 12 x 12 Paper Collection.
This sentiment was SO APT for my scene.

I also found this appropriate embellishment that finished my sentiment perfectly.
It is a parenting philosophy I live by " Climb more trees, you'll more mountains " *TRUE THAT*
And here is my finished card.

The thick wire edged ribbon worked well in the 2 areas where I applied it.
Under the "mountain" for layering and above the tree to fill in the empty space.
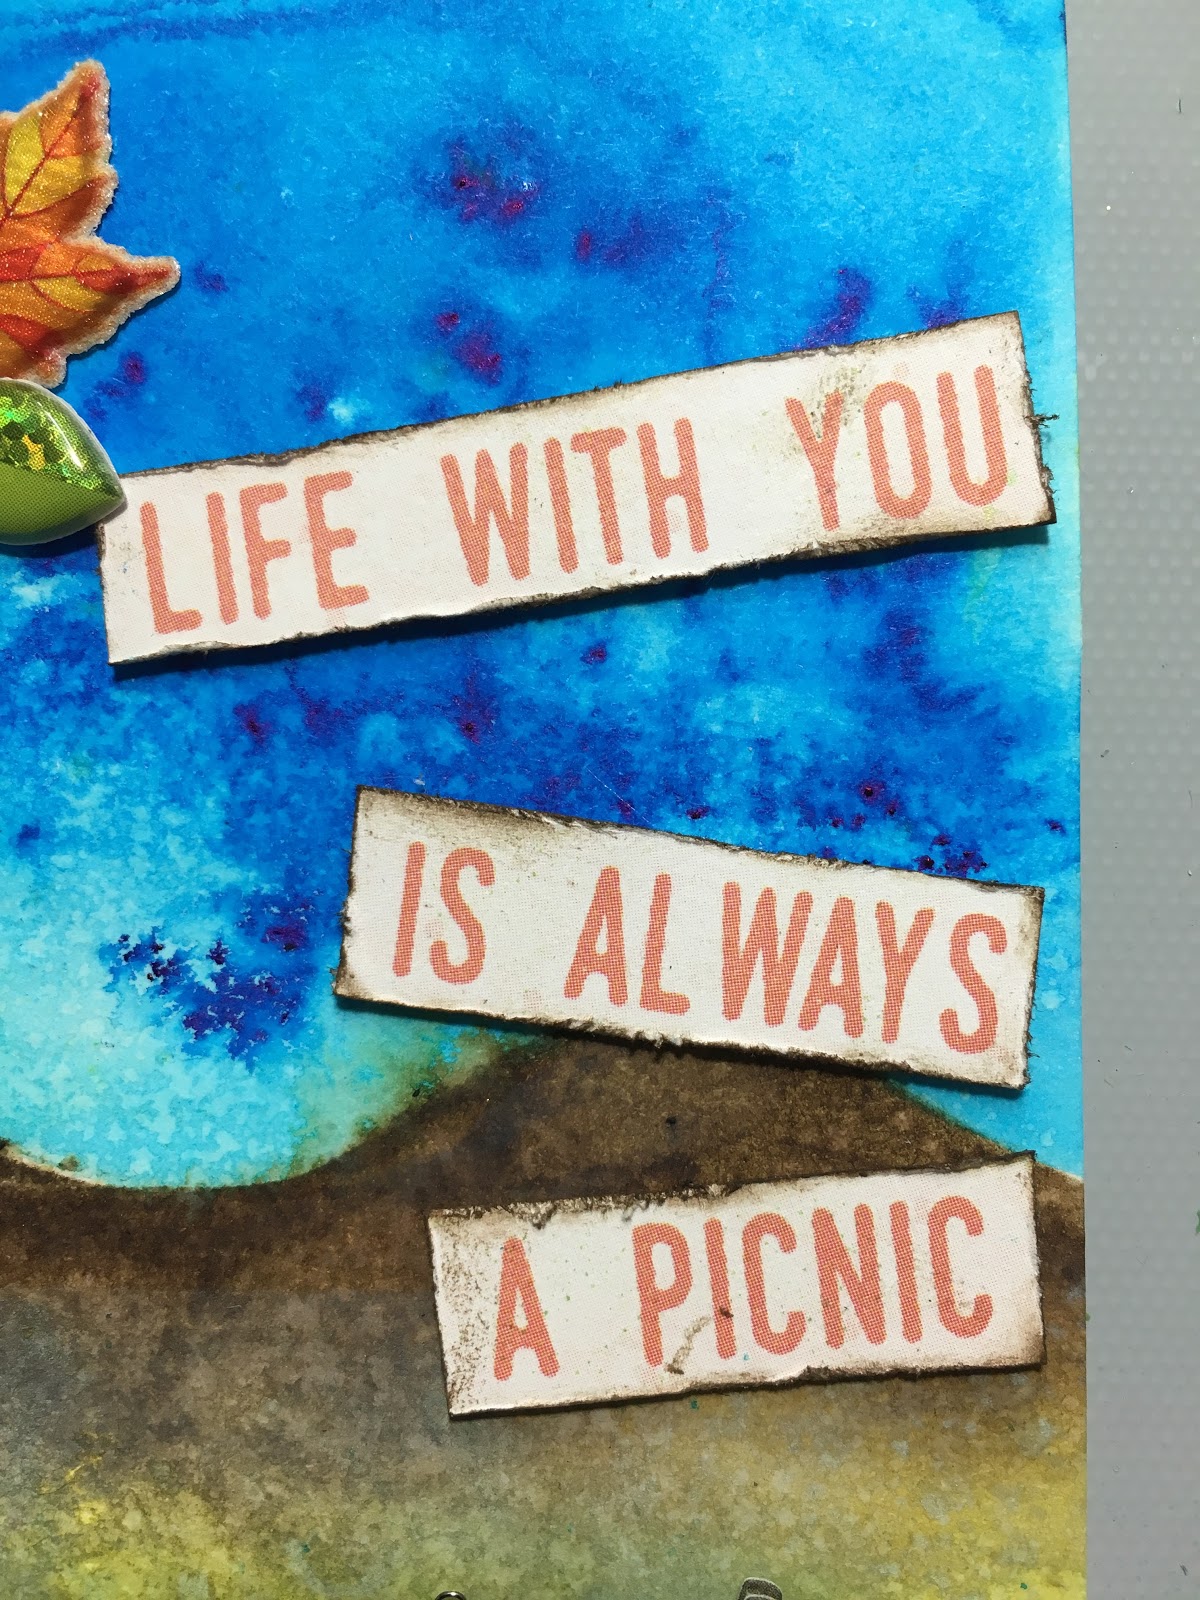
Card 2- Life with you is always a picnic
I started this card by applying Distress Oxide to my Ken Oliver Mat, spraying with water to activate then smooching the lower half only to achieve a "grassy" look.

Next, I used a scrap piece of paper, drew undulating mountains and then cut them out with my scissors.

I flipped this over and used it as a guide to add a mountain range in the distance.
I used ground espresso Distress Ink and applied it with a sponge dauber.
I then masked off the "mountains" with washi tape and applied color bursts to make my sky.
This time, I decided to fill in the whites with my paint brush to make a more cohesive sky.
For trees, I used this Impression Obsession Birch Tree die (from my stash) and cut out some trees with white card stock. I then lightly tapped them with Distress Ink to give them more of a woody look.
To the trees, I added some puffy leaf stickers.

Apply bear stickers...

For the sentiment, I found a strip once again that describes how I feel about my little "bear child" at home. I never know what exciting thing he is into next and it will always make my heart glad.
This time, I did distress and ink the edges on the sentiment.
For the bottom of the card, I used my Fiskars grass punch and layered up 2 different colors of green card stock to create a lovely base for the card.

And here is the finished look:

Card #3- Stop and smell the roses.
I once again created the same green grass, mountain and sky scenes as the previous card.
I also added the same birch trees.
This is my bear sticker this time.

The Mama bear looks like she is taking time to ground herself in her day so I felt that this sentiment was perfect!

I feel like this Mama bear. She needs to stop and smell the roses. Desperately.

I added the wire edges ribbon at the top ace again to fill in the empty space
And here is my card :)

Here is a one more look at all the cards together.

Thank you for tuning in :)
You can watch my process Video here
Hope you get a chance to make some forest scenery cards.
They are so much fun.
xxA
Comments
Post a Comment