Hello crafty friends,
Today I am inspired by the Echo Park Under the Sea paper collection to make my own aquarium!
The tool I am using is the WRMK Gift Bag Punch Board which I have used previously to make (not gift bags) boxes.

I used an A4 sheet of clear acetate and followed the directions on the punch board to make a "Large" box omitting the side folding step. So I created a long panel and a short side panel, then another long panel and another short side panel.
This is what my box looked like.
I made a regular paper box alongside it so you can see the design a bit better.


Before I taped the box together, I used my large rectangle die to cut a panel in the front facing side of the acetate box.


Next, I added a 4"x 6" journaling card from the paper collection which set the underwater scene very nicely.

For the bottom of my aquarium, I used gold glitter paper.

It is now starting to take shape.

Next, I took out my Kaisercraft anchor dies..

..... and tested them on my aquarium.

It looked a bit 'too clean'.
I had this idea to make an old anchor that has been dropped in the aquarium for ages and was not thick with algae.
So I added some PVA glue with my fine tip applicator,

... and pulled out my flower soft....

... and sprinkled it onto my anchor.
I am super happy with how this looks now.
I left it aside to dry and set.

Next, I wanted to make some underwater plant elements.
I pulled out this Kaisercraft Coastal Escape stamp and stamped out the coral using my new Tim Holtz Stamping Platform (thank you Aunty Vera for my pre-order!).

I also had another little seaweed stamp which I also stamped out.
I then grabbed my Nuvo crystal drops and went along the stamped images adding dimension and color.

Next, I grabbed co-ordinating colors of micro beads and applied them to the wet Nuvo.


When this dried, it still kept dropping micro beads so I decided to add glossy accents on top of that.

After that had dried, I fussy cut the coral out and was a bit unhappy with the white between the weeds so I used my sponge applicator and my Distress Oxide (peeled paint) to color in any gaps.

I repeated the process for the other seaweed.


For the shells, I painted them a few different ways.
Here, I used liquid pearls to put down a base of gold


And then added seed beads and then covered with PVA glue to keep them on after they dried.

Another option was to cover the shell with PVA first, then drop the seed beads into the wet surface.

Yet another option (not shown here) was to use BoBunny Glitter paste as the gold base and once again seed beads if desired.
In all 3 options, I dabbed on some glue and then stuck on some sequins for bling detail.
At this stage, my hand made elements are DONE and they look great !

Since I live by the beach, I also have some other "found" objects from my seas side walks.

These will do so nicely in my aquarium.

So lets begin!

The first thing thats going into my aquarium is this beautiful shell which I found on the beach some years ago. It has been sitting on my shelf but is now finding a home in this aquarium.


Next, the broken piece of coral is being stuck down (with hot glue) on the left.

Wherever a bit of the hot glue is showing, I have added some seed beads as camouflage and to act as "algae".

Next, a piece of mulch will now act as a log (or flotsam)

Next I added a broken piece of shell and and I placed the blue seaweed strategically in crevices and to the front of the aquarium on the left.

I then cut a piece of the green coral and added it to the back.

Next, I added the anchor to the back on the left ...

... shells in the front....

and a dolphin in the right back corner.

This paper was perfect as it allowed me to cut the sea creatures for the aquarium.


For the turtle, I cut a thin strip of acetate and adhered the turtle on the top,

then I curled the bottom part of the acetate under the log and it looks like the turtle is swimming in the middle of the aquarium.

Next I added the octopus in the back, peeking!!
Followed by more coral and shells on the right front corner of the aquarium.

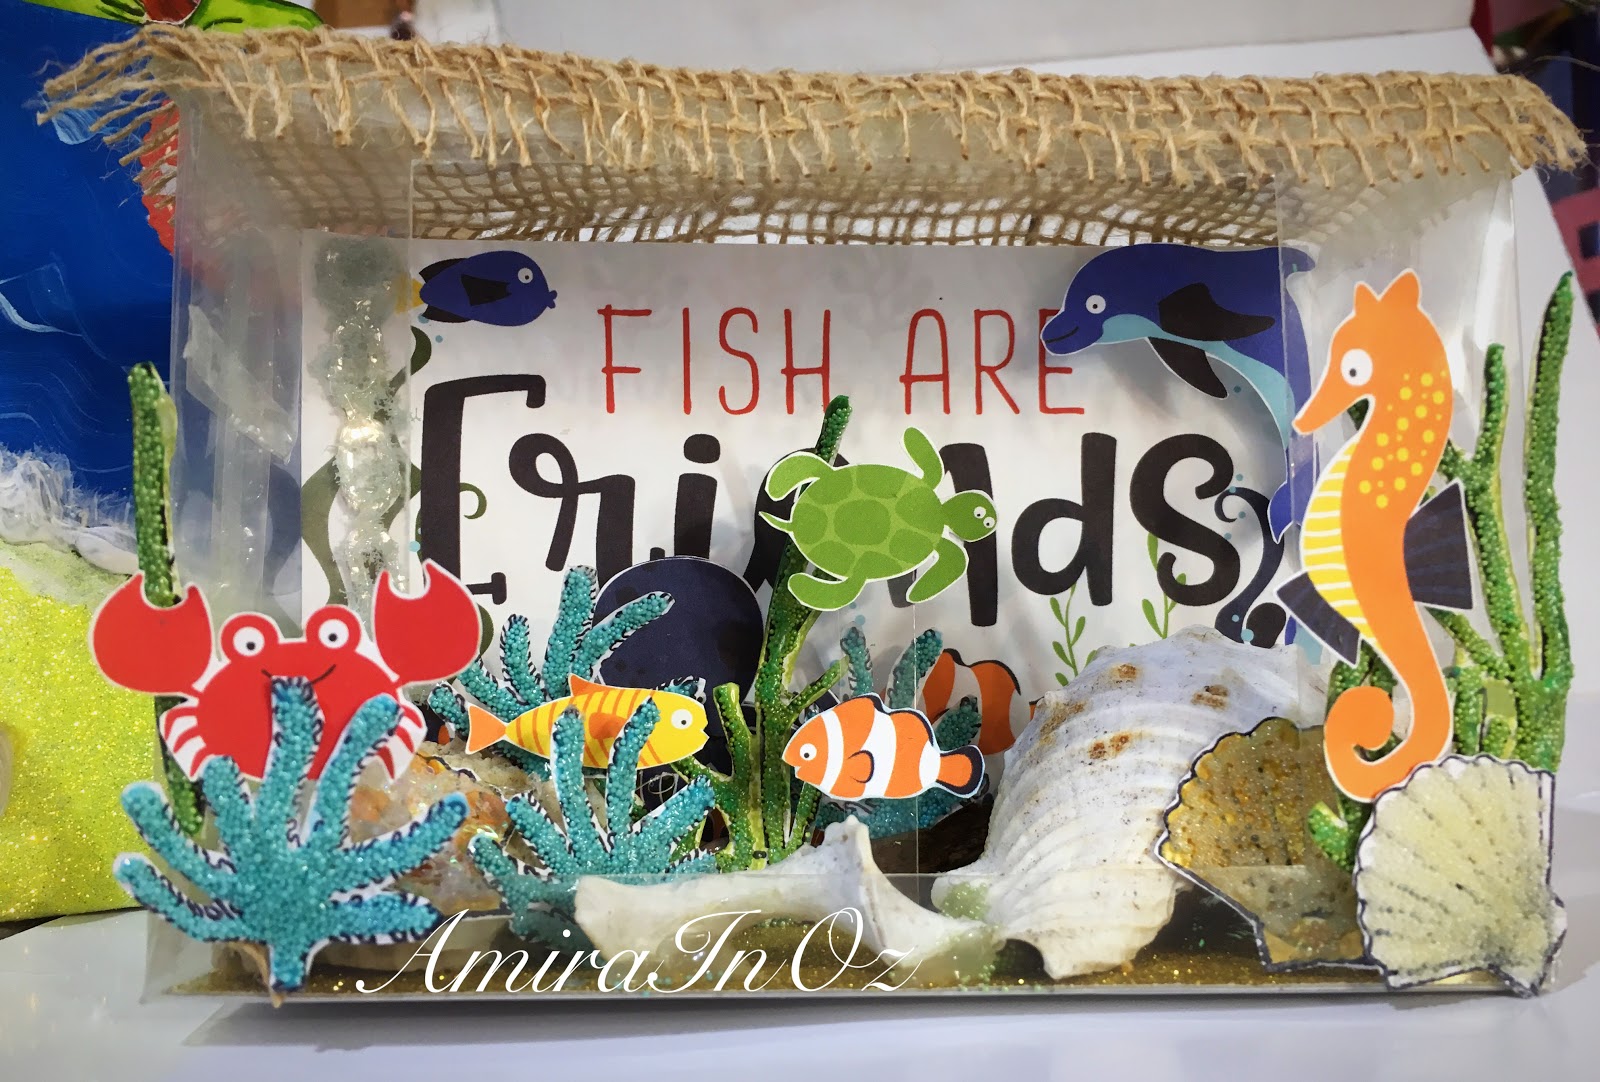
Lastly, I added even more sea creatures: the clown fish under the turtle, the crab and the sea horse.

All that was left was my dilemma with the lid that would not stay shut.
I ended up taping is shut (with double sided tape) but it looked obvious and detracted from the wonderment of the aquarium.
So I pulled out the hessian (jute ribbon)

and some double sided adhesive paper and put that on the lid of the box.

Here is my finished aquarium.
Isn't it magnificent?


Please check out my process video HERE.
Thank you so much for tuning in.
I hope you got inspired today.
xxAmira
Comments
Post a Comment