Hi everyone,
Today I am pulling out my Gelli Plate by Ranger

to show you how you can use stencils with acrylic paint as well as ink cubes to make some lovely backgrounds for cards or just for the sake of satisfying a little bit of color play.
And just to let you know, I also purchased the medium brayer to supplement my small brayer at home and I also purchased the storage tin so I can be sure that my gelli plate does not get damaged amongst my crushing load of supplies *wink wink*.
Gelli printing is my favourite way to pass time and get some creative juices flowing!!
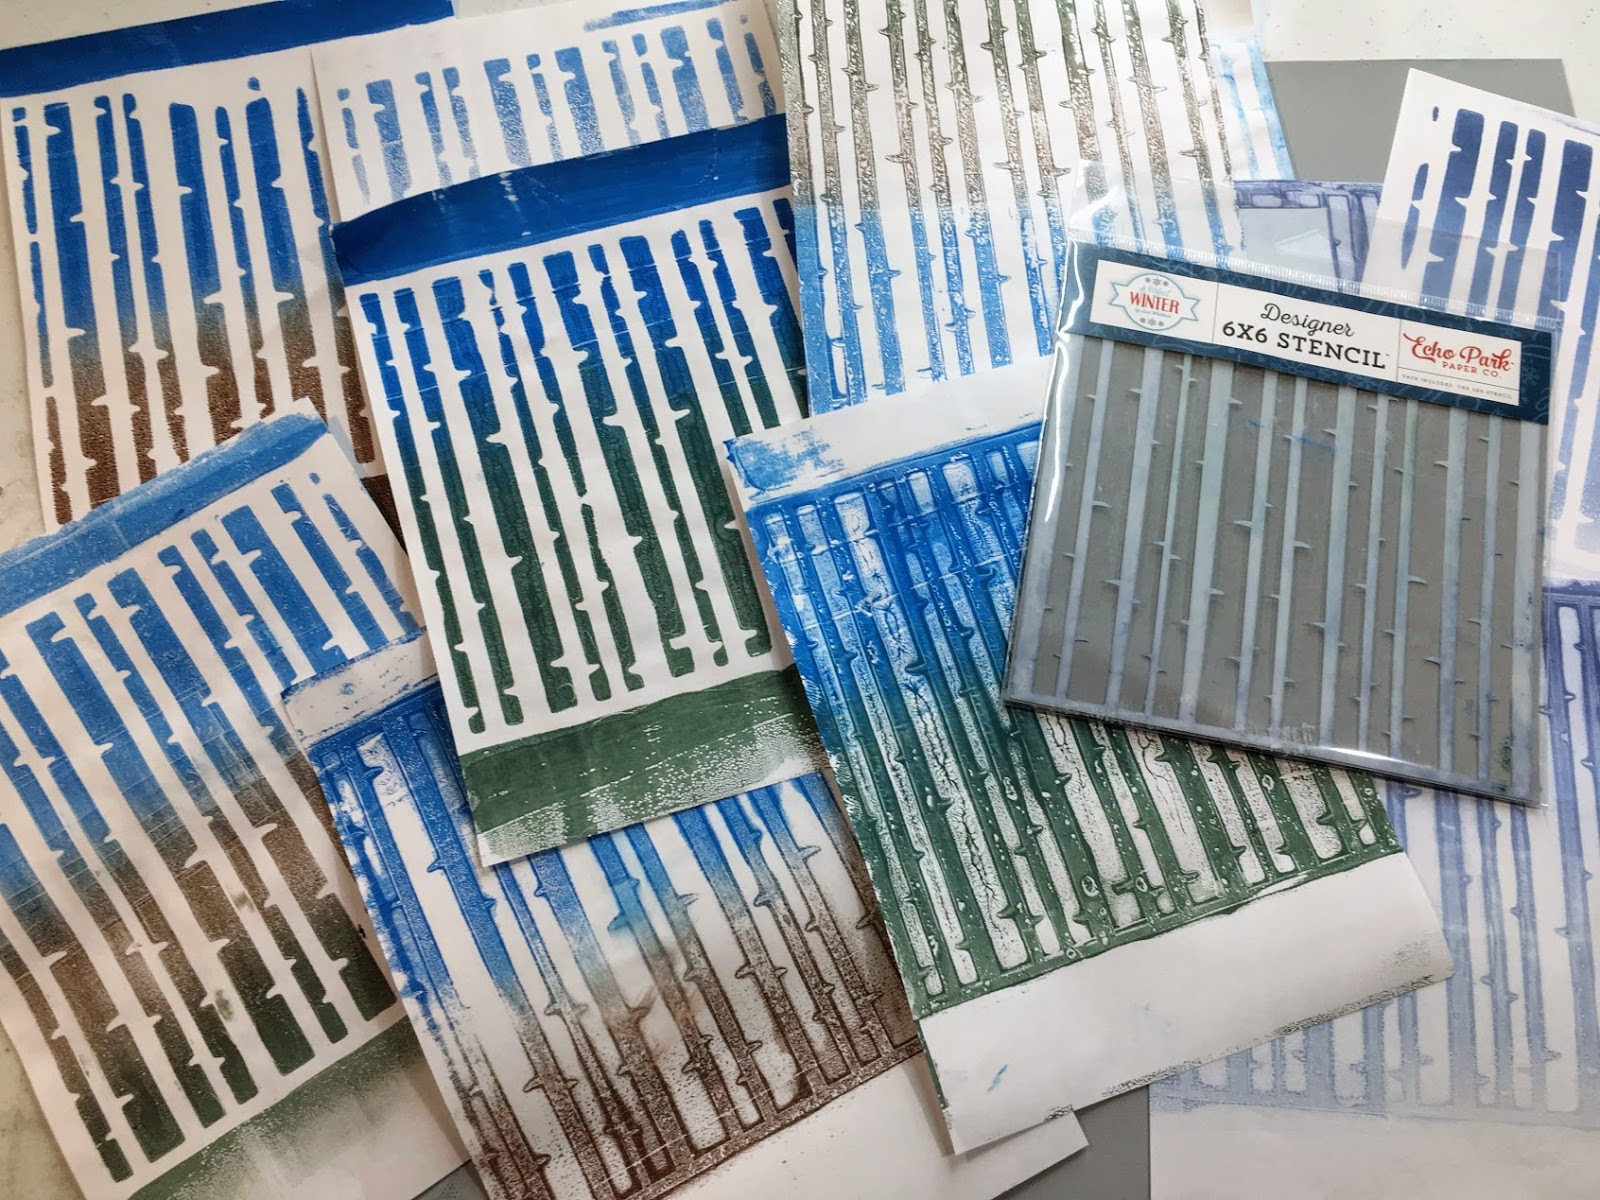
I am reaching for my 6" x 6" A Perfect Winter - Winter Aspen stencil by Echo Park to help add a winter woodland feel to my backgrounds

Acrylic Paint Backgrounds
I start off by choosing acrylic paints in brown, green and blue ...

and happily start brayer-ing to achieve very thin layers of paint.

I then apply the stencil,

Then paper (which incidentally is just A4 copy paper from my printer cut in half) and burnish well with my fingers.

The first pull is the positive print - see how the trees are white?

I then remove the stencil, apply a second piece of paper, burnish well and pull the second print.

and the result is a second generation pull which is the exact opposite to the first pull.

See how the trees this time are coloured and the background is white?
I then played around with 3 colors of acrylic paint and love the rugged mountain feel it evokes.

Ink Cubes
Next, I wanted to play with the Hero Arts Winter Dye Ink Set.

I love the Ombre colors of blue here.
And once again, I played with making thin layers of ink which I then pulled through the stencil.

You can experiment by pulling out die-cuts and placing either before or after you add the stencil.

Just make sure there are a thin layer.
As you will see in my video, thick card die-cuts do not give a clean impression.


With so many backgrounds, you can make a whole lot of cards or have collage papers at the ready for your art journal.
I made a few cards to share with you.
Cards 1 & 2- Bear and Fox

The acrylic paint background made pretty summer / fall / spring woodland themes which I added elements from my embellishment stash to tell a little story.
Cards 3 & 4- Silver white Doe

I adore this faded ombre ink cube backgrounds with the silver white doe visible between the winter aspen trees. I love the unicorn white ink cube because it changes the whole scene and gives the illusion of snow upon the woodland forest floor.
The addition of tulle and ribbon from the Santoro Gorjuss Pack is just so effective.
On the second card, the addition of the hessian (from the beach themed 2017 kit! yes I still have some) adds a beautiful earthy feel and texture and the sentiment really reminds me of Snape's love for Lily (yes, I am still mourning Snape's forbidden love).
Cards 5 & 6- Fox and Shadow Fox

How beautiful are these 2 cards??
One is the first generation pull and the other it's negative second generation.
One is bold and beautiful and the other is so light and delicate- a fox looking at you through the aspen trees on a snowy winter's day. Is that a fox I saw or was it just my imagination.
Love it!
So those are the results of my gelli plate play with stencil, paint and ink.


You can watch the heavily edited process HERE
Stay tuned for my next project where I show you the second part of this session where I used the gorgeous Dark Room door Woodlands stamp in the July kit on the gelli plate.
Check out the kit and it's contents HERE
And I'll see you next time.
xxAmira
Comments
Post a Comment