
Hi Everyone,
I am a bit of a magpie on my morning walks- I tend to pic up things that catch my eye.
On any given day, this can range from feathers to flowers to leaves.
have been known to come back with pieces of furniture too LOL- you know what they say- one person's track is another person's treasure.
I wonder what that says about hoarders- they always see the beauty in everything and thus nothing is ever trash?
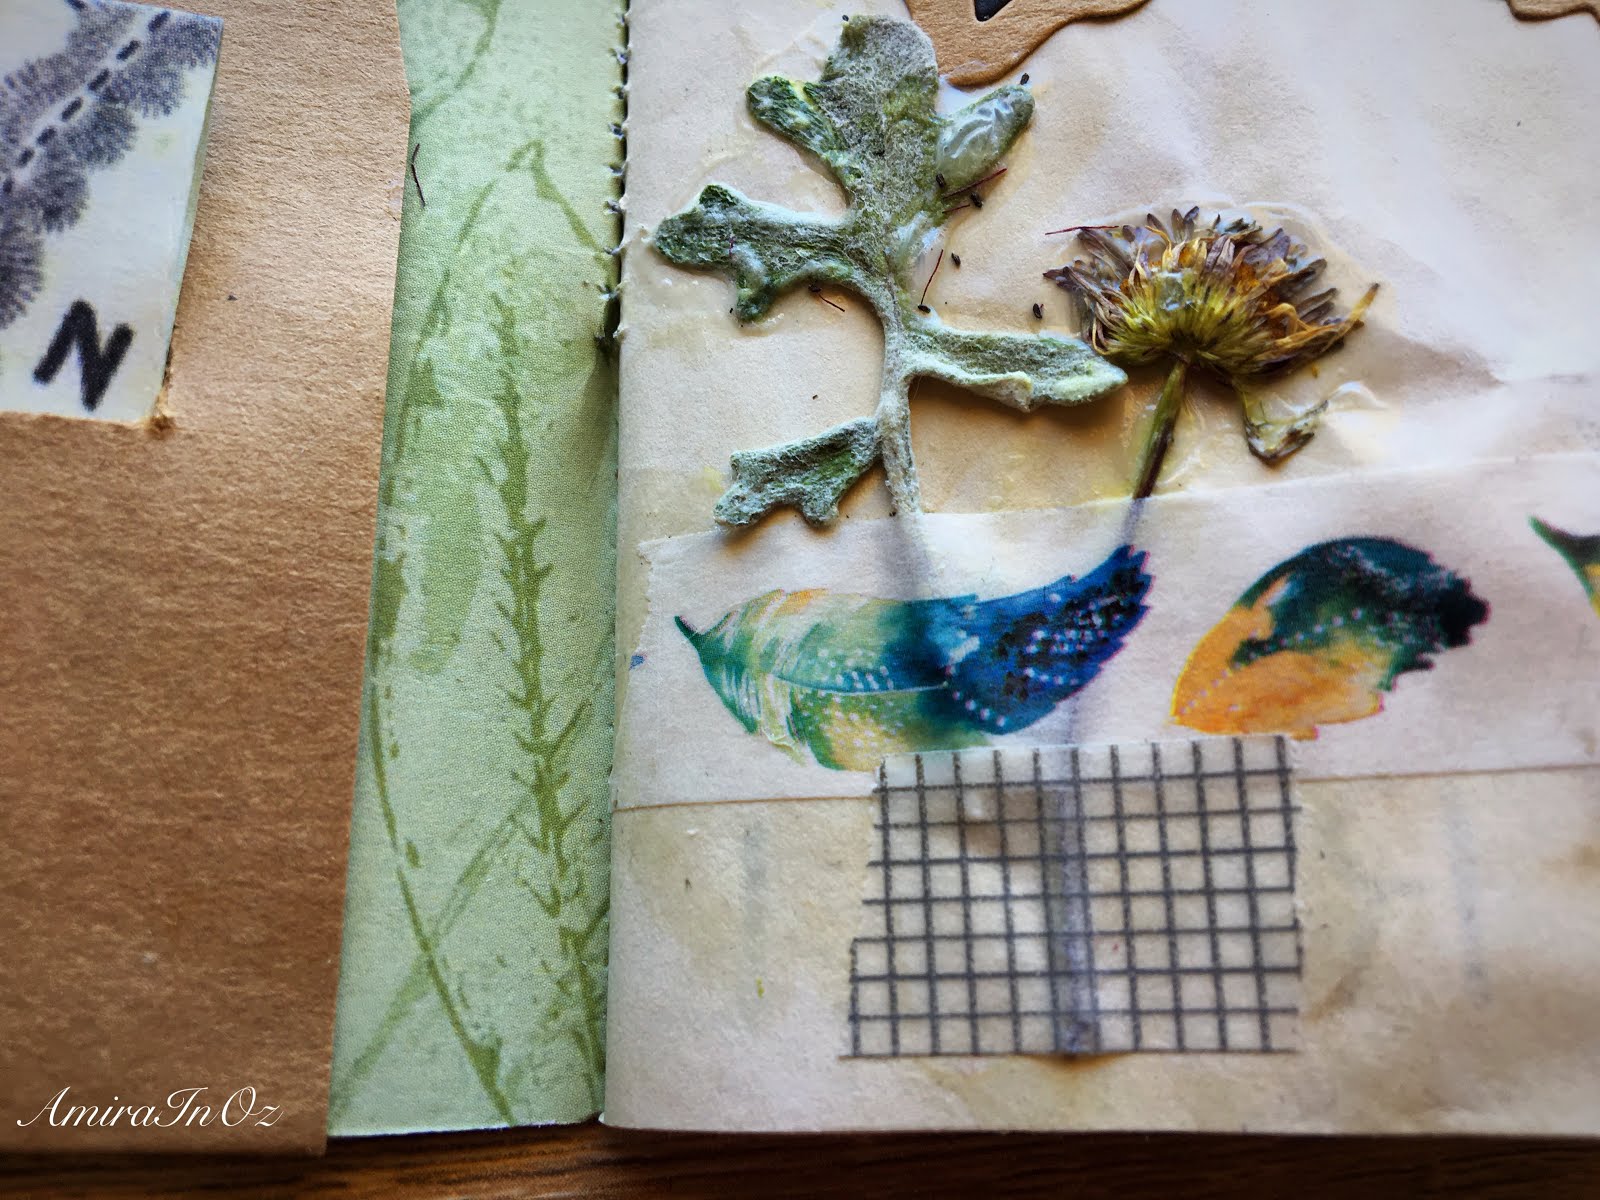
I picked up a few items this morning that I thought would be lovely to incorporate into my Aussie pocket TN.
I have feathers, leaves ...

Flowers....
These I dried by zapping momentarily in the microwave.
I show you the result of the zapped flowers from this morning's collection compared to flowers I had picked up earlier in the week and are just left on my desk waiting to be pressed.
I am working on a flower drying experiment which I hope to share with you so please stay tuned for that.

I am also reaching for my morning cup of tea 'tea bag' which I would also like to incorporate into my notebook.

I start off using this pretty thin metal die of Australia which I cut out of both black card stock and Kraft card stock. I switch out the middle so that the kangaroo and the tree are more obvious in black against the Kraft.

Next, I attach the dried leaves and flowers both using PVA glue and some washi
I reach for my alpha wood stamps and black archival ink and stamp out the month and year for memory

Here is what the front page looks like

For the opposite page, I did decide to create a little pocket.
I traced a semi circle using my roll of double sided tape and cut it out with my scissors.
I then ruled up 2 lines, 0.5cm apart and 5 cms wide and cut out a window with my steel ruler and blade to create a paper clip pocket.
I decorated the front with some used postal stamps from the Australia Post Wildflower Collection

Here is what you first see when you open up that insert.

You can watch the process video HERE
In you enjoyed that, then please pop on over to Part 2 where you will see me create this layout

Part 2 Process Video HERE
I crated 3 more layouts, which you can watch on my YT channel.
Here is layout #3

Part 3 Process Video HERE
Here is layout #4

Part 4 Process Video HERE
Here is layout #5

Part 5 Process Video HERE
Thank you so much for joining me for this series.
Aussie, Aussie Aussie!!
xxAmira
Comments
Post a Comment